

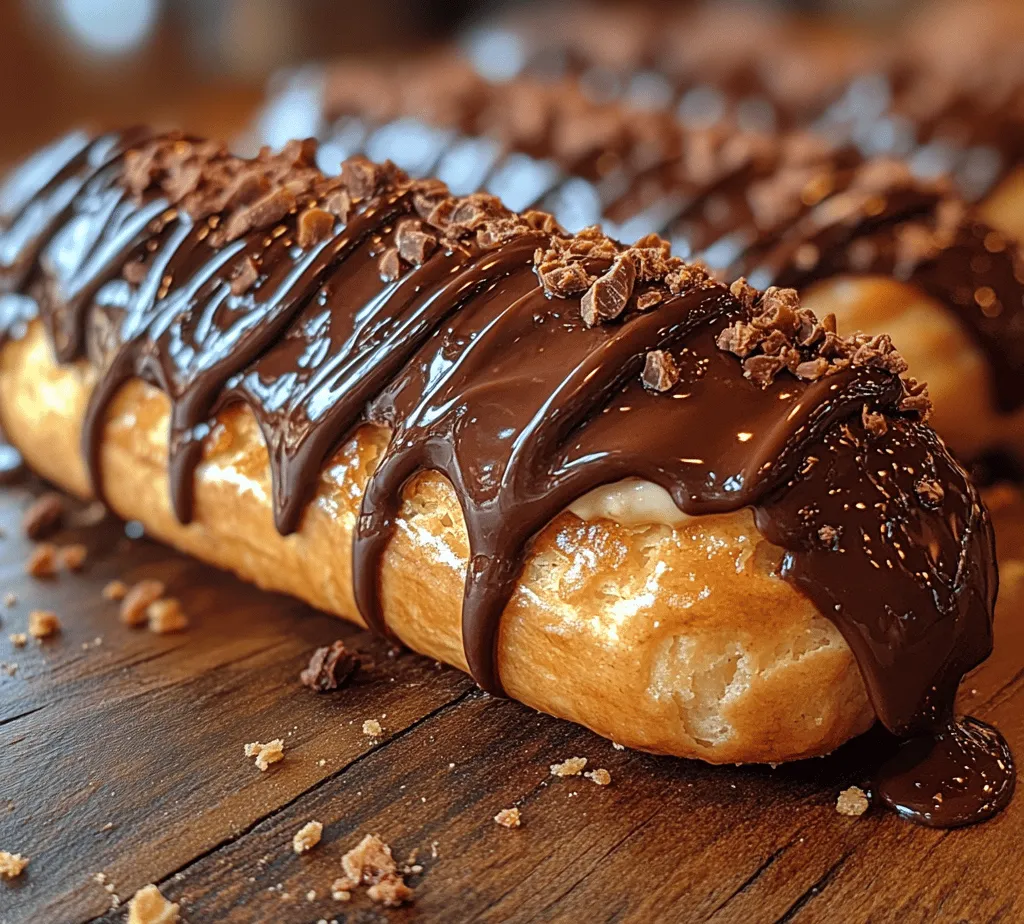
Chocolate Éclairs are not just desserts; they are a celebration of French culinary artistry that has stood the test of time. These delightful pastries, characterized by their light and airy choux pastry, luscious pastry cream, and glossy chocolate glaze, represent the quintessence of indulgence. Whether served at a lavish dinner party or enjoyed as a sweet treat during an afternoon coffee break, éclairs are sure to impress. This article aims to guide you step-by-step through the process of creating these exquisite treats in your own kitchen. With detailed instructions and helpful tips, even novice bakers can achieve success with this classic French delicacy.
Understanding Choux Pastry and Its Importance
Exploring Choux Pastry
Choux pastry, known as “pâte à choux” in French, is a unique and versatile dough that forms the base for many beloved pastries, including éclairs, profiteroles, and cream puffs. Its defining characteristic lies in its ability to puff up during baking, creating a hollow interior that can be filled with various delicious fillings.
The process of making choux pastry involves cooking the dough on the stove before baking it, which is what sets it apart from other pastry types. When the dough is heated, the water content produces steam, causing the pastry to rise. This results in a light, airy texture that is perfect for holding fillings. The beauty of choux pastry is its adaptability; while it serves as the foundation for éclairs, it can also be filled with whipped cream, custard, or ice cream, making it a favorite among pastry chefs and home bakers alike.
The Role of Each Ingredient
Understanding the role of each ingredient in choux pastry is essential for mastering the technique:
– Water and Butter: These two ingredients are the backbone of choux pastry. Water creates steam when heated, while butter adds richness and flavor. The combination of the two is crucial for the dough’s structure and rise.
– Flour: All-purpose flour provides the necessary structure to the pastry. When combined with the liquid ingredients, it forms a cohesive dough that can trap steam and expand during baking.
– Eggs: Eggs are the binding agents in choux pastry, providing moisture and stability. They also contribute to the pastry’s shine and color once baked. The process of adding eggs to the dough is critical; they must be incorporated gradually to ensure the right consistency.
By understanding how these ingredients work together, you can create the perfect choux pastry that serves as the foundation for your delightful chocolate éclairs.
Step-by-Step Guide to Making Choux Pastry
Creating choux pastry may seem daunting, but with the right tools and preparation, you can master this essential skill. Below is a detailed guide to help you navigate the process seamlessly.
Preparing to Bake
Before you begin making your choux pastry, it’s essential to gather your necessary tools and equipment. Having everything on hand will streamline the process and enhance your baking experience.
Necessary Tools and Equipment
1. Saucepan: A medium-sized saucepan is crucial for heating water and butter together.
2. Wooden Spoon or Silicone Spatula: Use this for stirring the dough as it cooks.
3. Piping Bag with a Large Round Tip: This will help you pipe the choux pastry into uniform shapes.
4. Baking Sheets: Line these with parchment paper to ensure easy removal of your éclairs after baking.
5. Cooling Rack: Once baked, the éclairs need to cool properly on a rack to prevent sogginess.
Prepping Your Workspace
Before you start cooking, ensure your workspace is tidy and organized. Clear off your countertops and gather your ingredients: water, butter, flour, and eggs. Having everything pre-measured will save you time and reduce stress as you work through the steps.
Creating the Dough
Now that you are prepared, let’s dive into the process of making the choux pastry dough. Follow these detailed instructions to ensure success:
1. Heat the Mixture: In a medium saucepan, combine 1 cup of water and 1/2 cup of unsalted butter. Place the saucepan over medium heat and stir occasionally until the butter has completely melted.
2. Bring to a Boil: Once the butter has melted, increase the heat and bring the mixture to a rolling boil. It’s important to reach this stage, as boiling ensures the water content is sufficient for the dough’s rise.
3. Add the Flour: Immediately remove the saucepan from the heat and add 1 cup of all-purpose flour all at once. Stir vigorously with your wooden spoon or spatula until the mixture forms a cohesive ball that pulls away from the sides of the pan.
4. Cook the Dough: Return the saucepan to low heat and continue to cook the dough for about 1-2 minutes, stirring constantly. This step helps to dry out the dough slightly, which is essential for a proper rise during baking.
5. Cool the Dough: Transfer the dough to a mixing bowl and let it cool for about 5 minutes. This cooling period is crucial because you want to avoid cooking the eggs when you add them.
6. Incorporate the Eggs: Once the dough has cooled slightly, add 4 large eggs one at a time, mixing well after each addition. The dough should become smooth and glossy, with a soft but thick consistency. If the dough seems too thick, you can add a little more water or an extra egg to achieve the desired texture.
Piping and Baking the Éclairs
Now that you have your choux pastry dough ready, it’s time to pipe it into éclairs and bake them to perfection.
1. Prepare the Baking Sheets: Line two baking sheets with parchment paper. To ensure the parchment stays in place, you can dab a little of the choux pastry mixture on the corners of the sheets.
2. Fill the Piping Bag: Transfer your choux pastry dough into the piping bag fitted with a large round tip. This will allow for easy piping of the éclairs.
3. Pipe the Éclairs: Hold the piping bag vertically above the prepared baking sheets. Pipe long, even strips of dough, about 4 inches long, leaving enough space between each éclair as they will expand during baking. Aim for uniform shapes to ensure even baking.
4. Preheat the Oven: While piping, preheat your oven to 425°F (220°C). This high temperature is crucial for the initial rise of the éclairs.
5. Bake the Éclairs: Once all éclairs are piped, place them in the preheated oven and bake for 15 minutes. After the first 15 minutes, reduce the oven temperature to 375°F (190°C) and bake for an additional 15-20 minutes, or until the éclairs are golden brown and puffed. Avoid opening the oven door during the first 20 minutes of baking, as this can cause the éclairs to collapse.
6. Cooling Properly: Once baked, remove the éclairs from the oven and transfer them to a cooling rack. Allow them to cool completely before filling with pastry cream.
The beauty of choux pastry lies in its versatility and the delicate balance of flavors and textures. With the éclairs baked to perfection, you are now ready to craft the perfect pastry cream that will elevate your delightful chocolate éclairs to the next level.
Crafting the Perfect Pastry Cream
To complete your chocolate éclairs, you’ll need a rich and creamy pastry filling. In the following sections, we will break down the essential ingredients of pastry cream and discuss possible variations that can enhance your éclairs even further.
Ingredients Breakdown
1. Milk: The primary liquid in pastry cream, milk adds creaminess and flavor. You can use whole milk for a richer taste or substitute with almond milk for a dairy-free option.
2. Sugar: Granulated sugar sweetens the cream and balances the flavors. For a more complex sweetness, consider using brown sugar.
3. Egg Yolks: Egg yolks provide richness and help thicken the pastry cream. They also contribute to the smooth texture.
4. Cornstarch: This acts as a thickening agent, ensuring your pastry cream has a velvety consistency that holds its shape when piped into the éclairs.
5. Butter: Adding butter at the end of the cooking process enriches the pastry cream and gives it a beautiful sheen.
6. Vanilla Extract: For classic pastry cream, vanilla extract adds a warm, aromatic flavor. Alternatively, for a chocolate twist, you can incorporate cocoa powder or melted chocolate into the cream.
Exploring Variations in Flavoring
While traditional pastry cream is delicious on its own, you can easily customize it to suit your taste preferences. Consider these variations:
– Chocolate Pastry Cream: To make chocolate pastry cream, simply add 1/2 cup of good-quality cocoa powder or melted dark chocolate to the mixture as you combine the sugar and egg yolks.
– Coffee Pastry Cream: For a coffee-flavored twist, brew a strong cup of coffee and replace part of the milk with the brewed coffee. This adds a delightful depth to your éclairs.
With your pastry cream ready, you will be one step closer to assembling your delightful chocolate éclairs. The next phase will involve filling the éclairs and adding that signature chocolate glaze, which will truly bring your creation to life. Stay tuned for the next part of the article, where we will dive into the filling and glazing process, ensuring your éclairs are as visually stunning as they are delicious.
Cooking the Pastry Cream
Creating the perfect pastry cream is essential for your chocolate éclairs. This rich, smooth custard will be the heart of your dessert. Follow these step-by-step instructions to ensure a flawless result.
Step-by-Step Instructions for Tempering the Eggs
1. Prepare Your Ingredients: Start by having your milk, sugar, cornstarch, and egg yolks measured and ready to go. This ensures a smooth and efficient cooking process.
2. Heat the Milk: In a medium saucepan, heat 2 cups of whole milk over medium heat until it begins to steam. You want it hot but not boiling. This is crucial, as boiling can alter the texture of the cream.
3. Whisk the Egg Mixture: In a separate bowl, whisk together 4 egg yolks, 1/3 cup of granulated sugar, and 3 tablespoons of cornstarch until the mixture is smooth and pale yellow.
4. Tempering the Eggs: Slowly pour the hot milk into the egg mixture while constantly whisking. This gradual addition of heat prevents the eggs from scrambling. Aim to add the milk in a thin stream to ensure an even temperature increase.
5. Return to Heat: Pour the tempered egg mixture back into the saucepan and return it to medium heat. Whisk continuously as the mixture thickens. You will know it’s ready when it coats the back of a spoon and holds a line when you run your finger through it.
Visual Cues to Look for During Thickening
– Color Change: Initially, the mixture will be pale yellow. As it thickens, the color deepens slightly.
– Coating the Spoon: When the cream is thick enough, it should coat the back of a spoon. You can test this by dipping a spoon into the cream and running your finger through it. If the line holds, you’re ready to remove it from the heat.
How to Store and Chill the Cream Properly
Once your pastry cream is ready, transfer it to a bowl and cover it with plastic wrap. Make sure the wrap directly touches the surface of the cream to prevent a skin from forming. Let it cool to room temperature before refrigerating. The pastry cream can be stored in the fridge for up to three days, making it a convenient make-ahead option.
Creating the Luxurious Chocolate Glaze
The chocolate glaze adds the finishing touch to your éclairs, providing both flavor and visual appeal. Here’s how to create the perfect glaze.
Choosing the Right Chocolate
The type of chocolate you select can significantly impact the flavor and texture of your glaze. Here’s a quick guide to help you choose:
– Semi-Sweet Chocolate: This is typically used in dessert recipes and offers a balanced sweetness with rich cocoa flavor. It’s an excellent choice for those who enjoy a sweeter glaze.
– Dark Chocolate: For a more intense flavor, opt for dark chocolate, which has a higher cocoa content and less sugar. This results in a more robust taste that pairs beautifully with the sweetness of the pastry cream.
Quality Matters: The quality of chocolate matters significantly. Higher-quality chocolate will melt better and yield a smoother, more luxurious glaze. Look for chocolate with at least 60% cocoa solids for the best results.
Making the Glaze
1. Ingredients Needed: Gather 6 ounces of your chosen chocolate (semi-sweet or dark) and 1/2 cup of heavy cream.
2. Melt the Chocolate: Chop the chocolate into small pieces and place it in a heatproof bowl. In a saucepan, heat the cream over medium heat until it just starts to simmer. Pour the hot cream over the chopped chocolate and let it sit for 2-3 minutes.
3. Whisk Until Smooth: After letting it sit, whisk the mixture until the chocolate is completely melted and the glaze is smooth. If needed, you can place the bowl over a pot of simmering water for a gentler melting process.
Tips for Achieving a Glossy Finish
– Avoid Overheating: Keep an eye on the chocolate while it melts. Overheating can lead to a grainy texture, so remove it from heat as soon as it’s melted.
– Use a Smooth Whisking Motion: Whisk gently to incorporate air but avoid overdoing it. The goal is a smooth, shiny glaze without bubbles.
Assembling Your Éclairs
Now that you have your pastry cream and chocolate glaze ready, it’s time to assemble your éclairs.
Cutting and Filling the Éclairs
1. Cutting the Éclairs: Use a serrated knife to slice your éclairs horizontally. Start at one end and gently saw back and forth to avoid squashing the pastry.
2. Filling the Éclairs: Transfer the chilled pastry cream into a piping bag fitted with a long, narrow tip. Insert the tip into one end of the éclair and squeeze gently while pulling the bag out. This ensures an even filling throughout.
3. Best Practices for Filling: Aim for a light touch. Overfilling can cause the éclairs to burst. You should feel a slight resistance when they are filled properly.
Glazing Techniques
1. Dipping vs. Drizzling: For a classic look, dip the top of each filled éclair into the chocolate glaze. Alternatively, for a decorative touch, you can drizzle the glaze over the éclairs using a spoon.
2. Presentation Tips: Arrange the éclairs on a decorative plate or stand. You may also consider garnishing with chocolate shavings or edible gold leaf for an elegant finish.
Serving and Storing Your Éclairs
Best Practices for Enjoying Éclairs
– Ideal Serving Temperature: Éclairs are best enjoyed chilled but not icy. Allow them to sit at room temperature for about 10-15 minutes before serving for the perfect texture.
– Pairing Suggestions: These delightful treats pair wonderfully with coffee, tea, or even a glass of dessert wine. Their richness complements the bitterness of coffee or the floral notes of tea beautifully.
Storage Guidelines
– How to Store Éclairs for Optimal Freshness: Keep your assembled éclairs in an airtight container in the refrigerator. They are best consumed within 24 hours to maintain the texture of the pastry.
– Tips for Reheating or Serving Leftovers: If you have leftovers, avoid reheating them in the microwave, as this can make the pastry soggy. Instead, let them sit at room temperature to bring back their original texture before enjoying.
Conclusion
Creating delightful chocolate éclairs at home is a rewarding experience that brings together skill and creativity. With this comprehensive guide, you can master the art of making these elegant pastries, impressing family and friends alike. Not only will you enjoy the fruits of your labor, but you will also gain a deeper appreciation for the craftsmanship that goes into this classic dessert. Embrace the process, and savor each delectable bite of your homemade éclairs. Whether served at a special occasion or as a delightful treat for yourself, these éclairs are sure to impress and satisfy your sweet cravings.
