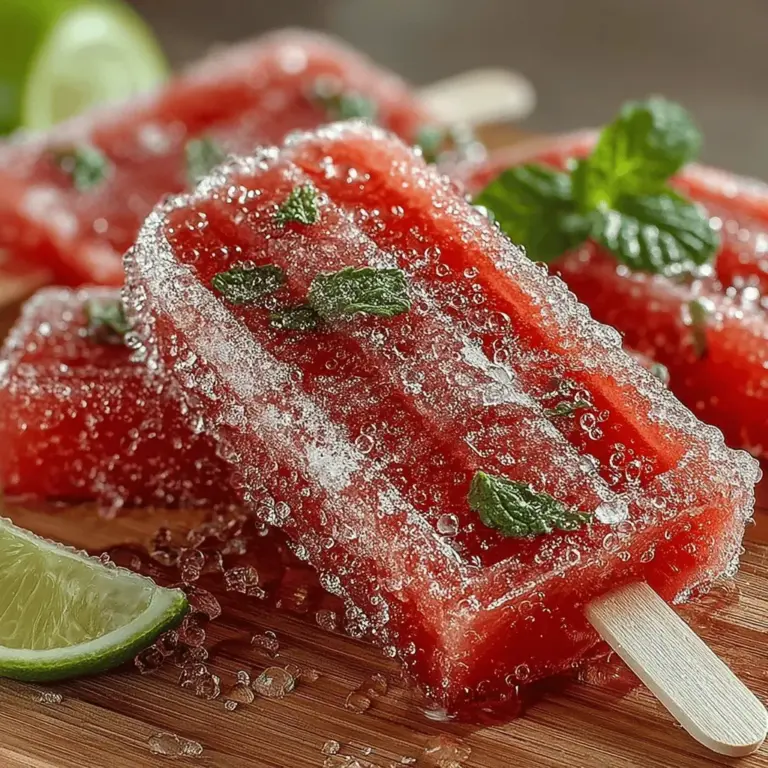
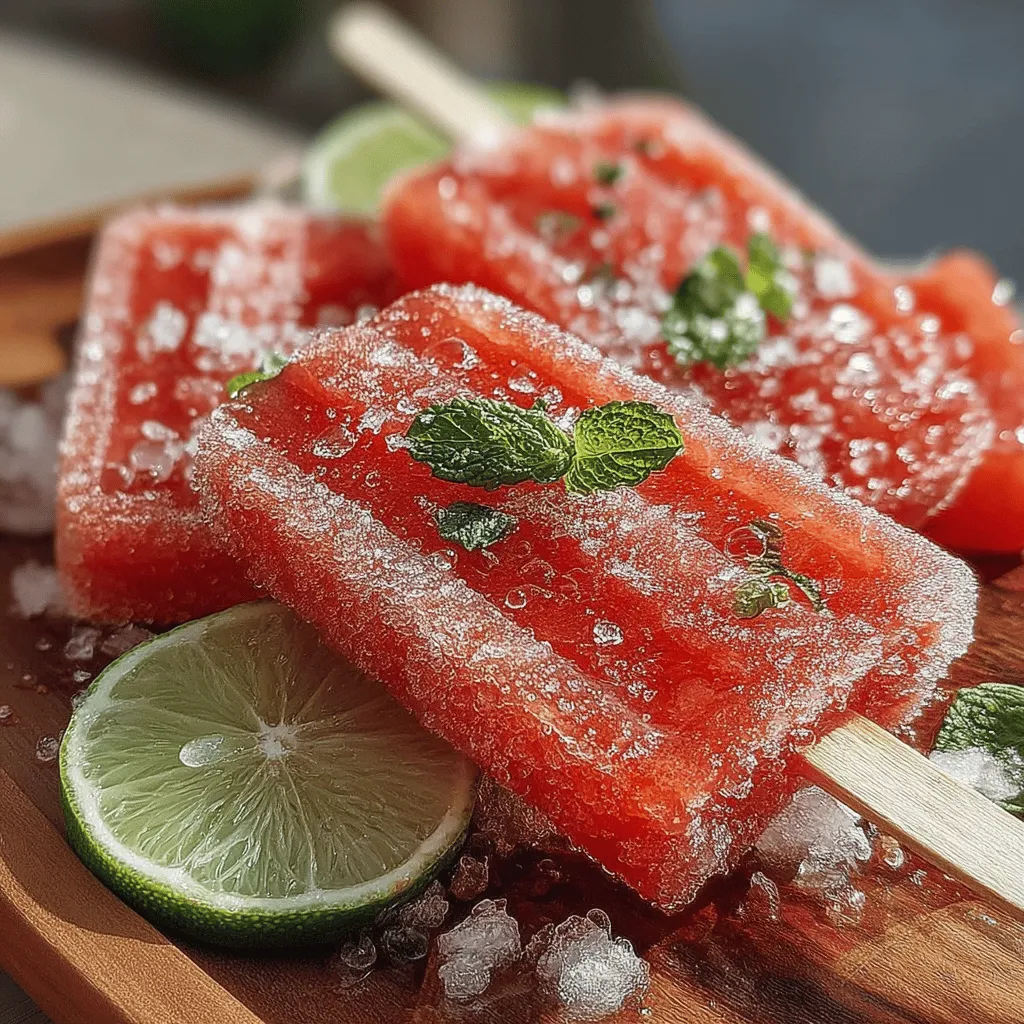
Refreshing Watermelon Ice Pops
As the temperatures rise and the sun shines brighter, nothing beats the nostalgic joy of indulging in icy treats that help you cool off. Ice pops have long been a summertime favorite, offering a delightful way to savor flavors while beating the heat. However, while store-bought versions may be convenient, they often come loaded with artificial flavors, colors, and excessive sugars. This is where homemade ice pops shine, allowing you to craft your own refreshing creations with wholesome ingredients. Today, we’re excited to share a recipe for watermelon ice pops—a delicious, healthy alternative that’s simple to make and bursting with natural flavor.
Watermelon, the star of this recipe, is not only a summertime staple but also a powerhouse of hydration and nutrition. Its high water content makes it an ideal ingredient for cooling treats, while its natural sweetness provides a delightful base for ice pops. When combined with a splash of lime juice and a touch of natural sweeteners like honey or agave syrup, these watermelon ice pops become a guilt-free indulgence that everyone can enjoy. This article will guide you through the process of creating your own refreshing watermelon ice pops, from understanding the ingredients to step-by-step instructions on preparation.
Understanding the Ingredients
Watermelon: The Star of the Recipe
Watermelon is a quintessential summer fruit, renowned for its juicy, sweet flavor and vibrant color. But beyond its taste, watermelon offers numerous nutritional benefits. It is composed of about 92% water, making it an excellent source of hydration, especially on hot days. Additionally, watermelon is rich in vitamins A and C, which are essential for maintaining healthy skin and boosting the immune system. It also contains important minerals like potassium and magnesium, contributing to overall well-being.
When selecting the perfect watermelon for your ice pops, keep a few tips in mind. Look for a watermelon that feels heavy for its size, which indicates juiciness. The skin should have a uniform shape and a dull finish—shiny skin may suggest that the fruit is under ripe. Opting for seedless varieties can make preparation easier and more enjoyable, particularly for families with children.
Lime Juice: Adding Zest
To elevate the refreshing qualities of watermelon, a splash of lime juice is a key ingredient in this recipe. Lime juice not only enhances the sweetness of the watermelon but also adds a zesty acidity that balances the flavors beautifully. The bright, tangy notes of lime can transform an otherwise one-dimensional treat into a sophisticated and satisfying snack.
Beyond flavor, lime juice brings impressive health benefits to the table. It is an excellent source of vitamin C, which supports the immune system and promotes healthy skin. Additionally, lime juice can aid digestion, making it a perfect companion to the hydrating properties of watermelon.
Sweeteners: Honey vs. Agave Syrup
When it comes to sweetening your watermelon ice pops, you have options. Honey and agave syrup are both natural sweeteners that can enhance the flavor of your pops while providing some health benefits. Honey, a staple in many kitchens, is known for its antimicrobial properties and rich antioxidant content. It also adds a unique floral flavor that pairs well with the freshness of watermelon.
On the other hand, agave syrup is a popular vegan alternative that is often sweeter than honey and has a smoother texture. It is derived from the agave plant and has a lower glycemic index, making it a preferable option for those monitoring their blood sugar levels. When choosing between honey and agave syrup, consider your dietary preferences and the flavor profile you desire in your ice pops.
A Pinch of Salt: The Secret Ingredient
You might be surprised to learn that a tiny pinch of salt can make a significant difference in your watermelon ice pops. Salt enhances the sweetness of desserts and helps to bring out the natural flavors of the ingredients. Just a small amount can elevate the overall taste, making your ice pops even more enjoyable. This simple addition is often overlooked but can take your homemade treats to the next level.
Optional Garnish: Fresh Mint Leaves
While the watermelon ice pops are delightful on their own, consider adding a garnish of fresh mint leaves for an extra touch of flavor and presentation. Mint not only adds a refreshing herbal note that complements the watermelon but also enhances the visual appeal of your pops. Whether you choose to blend the mint into the mixture or use it as a garnish, it’s sure to impress and elevate your summertime treat.
Step-by-Step Instructions for Making Watermelon Ice Pops
Preparing the Watermelon
To begin making your refreshing watermelon ice pops, start with the preparation of the watermelon. Begin by selecting a ripe watermelon, as mentioned previously, to ensure the best flavor and juiciness. Once you have your watermelon, wash the exterior thoroughly to remove any dirt or residues.
Next, place the watermelon on a stable cutting board. Use a sharp knife to slice off both ends of the watermelon, creating flat surfaces that will help stabilize the fruit while you cut. Stand the watermelon upright and carefully slice it in half, exposing the vibrant pink flesh inside. From here, you can cut each half into smaller wedges, making it easier to remove the rind.
Using the knife, carefully slice along the inside of the rind to separate the flesh. Once you’ve removed the rind, cube the watermelon into bite-sized pieces. Aim for uniform cubes to ensure even blending. Depending on the size of your watermelon, you may end up with several cups of cubed fruit, which is perfect for making multiple batches of ice pops.
Blending the Mixture
With your watermelon cubes ready, it’s time to blend the mixture. Place the cubed watermelon into a high-speed blender. For added flavor, squeeze in the juice of one or two limes, depending on your taste preference. This is also the time to add your chosen sweetener—whether you opt for honey or agave syrup, start with a modest amount and adjust to taste.
Blend the mixture on high until it reaches a smooth and frothy consistency. This process typically takes about 30 seconds to a minute. If you prefer a chunkier texture, you can blend for a shorter time, but for the best results, aim for a silky-smooth blend. If you find that the mixture is too thick, you can add a splash of water to help facilitate blending.
Once your watermelon mixture is perfectly blended, take a moment to taste it. Adjust the sweetness or acidity by adding more sweetener or lime juice as needed. The goal is to achieve a balanced flavor that highlights the refreshing qualities of the watermelon while providing a pleasant zing from the lime.
With your watermelon ice pop mixture ready, you are well on your way to creating a delightful summer treat that is both nourishing and satisfying. In the next section, we will cover how to pour the mixture into molds and freeze them to achieve the perfect ice pop consistency.
Flavor Adjustments
One of the best aspects of making watermelon ice pops is the ability to customize flavors to suit your taste buds. If you prefer a tart flavor profile, consider adding more fresh lime juice. The acidic brightness of lime not only complements the sweetness of watermelon but also adds a refreshing zing. Conversely, if you find that your watermelon isn’t as sweet as you’d like, feel free to add a natural sweetener. Honey, agave syrup, or even a few drops of stevia can enhance the sweetness without overpowering the natural flavor of the fruit.
Experimenting with these adjustments can lead to a perfect balance that suits your palate!
Pouring into Molds
Once you’ve blended your watermelon and any additional flavorings, it’s time to pour the mixture into your ice pop molds. As you pour, be mindful to leave some space at the top of each mold. This is essential as the mixture will expand as it freezes. If the molds are filled to the brim, you risk spills, which can create a messy freezer and uneven pops. A good rule of thumb is to leave about half an inch of space at the top.
Using a funnel can help ensure a clean pour, especially when dealing with thicker mixtures. If you don’t have a funnel, a measuring cup with a spout can work just as well.
Inserting Sticks and Freezing
After pouring the mixture into molds, it’s time to insert the sticks. For optimal results, wait about 30-45 minutes after pouring before placing the sticks into the molds. This allows the mixture to set just enough that the sticks can stand upright without sinking.
When inserting the sticks, ensure they are centered in each mold to help with even freezing. If you’re using wooden sticks, it may help to twist them slightly as you push them into the mixture, ensuring they hold their position without disrupting the frozen texture.
For freezing, allow the watermelon ice pops to freeze for at least 4-6 hours. For the best texture, aim for overnight freezing if possible. This duration guarantees that the pops are completely solid, making them easier to remove from the molds.
Unmolding and Serving
When the waiting is finally over, it’s time to enjoy your delicious watermelon ice pops! To remove them from the molds, you may face some challenges, especially if the pops are solidly frozen. A simple trick is to run warm water over the outside of the molds for a few seconds. This slight warming will cause the pops to loosen and slide out easily without breaking.
Once unmolded, you can serve your watermelon ice pops as is or enhance their presentation. Consider garnishing with fresh mint leaves or a sprinkle of lime zest for an elegant touch. These simple additions not only elevate the visual appeal but also add an aromatic element that complements the flavor.
Health Benefits of Watermelon Ice Pops
Hydration and Refreshment
Watermelon is composed of approximately 92% water, making it an excellent choice for hot summer days. These ice pops are not just a sweet treat; they are also a fantastic way to stay hydrated. The high water content in watermelon helps replenish fluids lost through sweat and keeps you refreshed, especially during outdoor activities or after a workout.
Natural Ingredients and Healthier Alternatives
Creating your own watermelon ice pops allows you to have complete control over the ingredients. Unlike commercial pops that often contain artificial flavors, colors, and preservatives, homemade versions ensure that you are consuming natural, wholesome ingredients. This not only enhances the flavor but also contributes to overall health. By choosing fresh fruit and natural sweeteners, you’re providing a nourishing treat that can be enjoyed guilt-free.
Additionally, making ice pops at home is a more sustainable option. You can reduce packaging waste and avoid the carbon footprint associated with mass-produced frozen treats.
Variations and Customizations
Fruit Combinations
The beauty of watermelon ice pops lies in their versatility. You can easily mix in other fruits to create exciting flavor combinations. For instance, blending strawberries or blueberries with watermelon not only adds a burst of flavor but also increases the nutritional value. These berries are rich in antioxidants and vitamins, making your pops not just refreshing but also a healthier snack option.
Adding Yogurt for Creaminess
For those who enjoy creamier textures, consider incorporating yogurt or coconut milk into your watermelon mixture. This addition will create a delightful creamy consistency that’s reminiscent of sorbet. Greek yogurt is particularly beneficial as it adds protein and probiotics, enhancing the nutritional profile of your pops. Simply blend in a cup of yogurt with your watermelon for a delicious twist!
Experimenting with Herbs and Spices
For adventurous palates, experimenting with herbs and spices can lead to unique flavor profiles. Fresh basil or cilantro can add a surprising twist to your watermelon ice pops. Simply blend a few leaves into your mixture for an herbal note that complements the sweetness of the watermelon. Alternatively, a sprinkle of cayenne pepper or a dash of ginger can provide a spicy kick, creating a delightful contrast that excites the taste buds.
Conclusion
Making refreshing watermelon ice pops at home is a simple yet rewarding endeavor. With just a few fresh ingredients, you can whip up a batch of delicious treats that are not only enjoyable but also healthy. This recipe invites creativity, allowing you to experiment with flavors, textures, and presentations, making it a perfect activity for families during the summer months.
Whether you choose to stick to the classic watermelon flavor or explore exciting variations, these ice pops are sure to become a favorite. So grab your molds, gather your ingredients, and start creating your own delightful and nutritious frozen treats today!
