Introduction
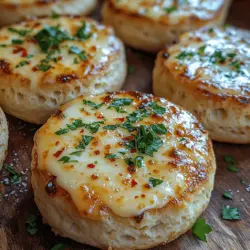
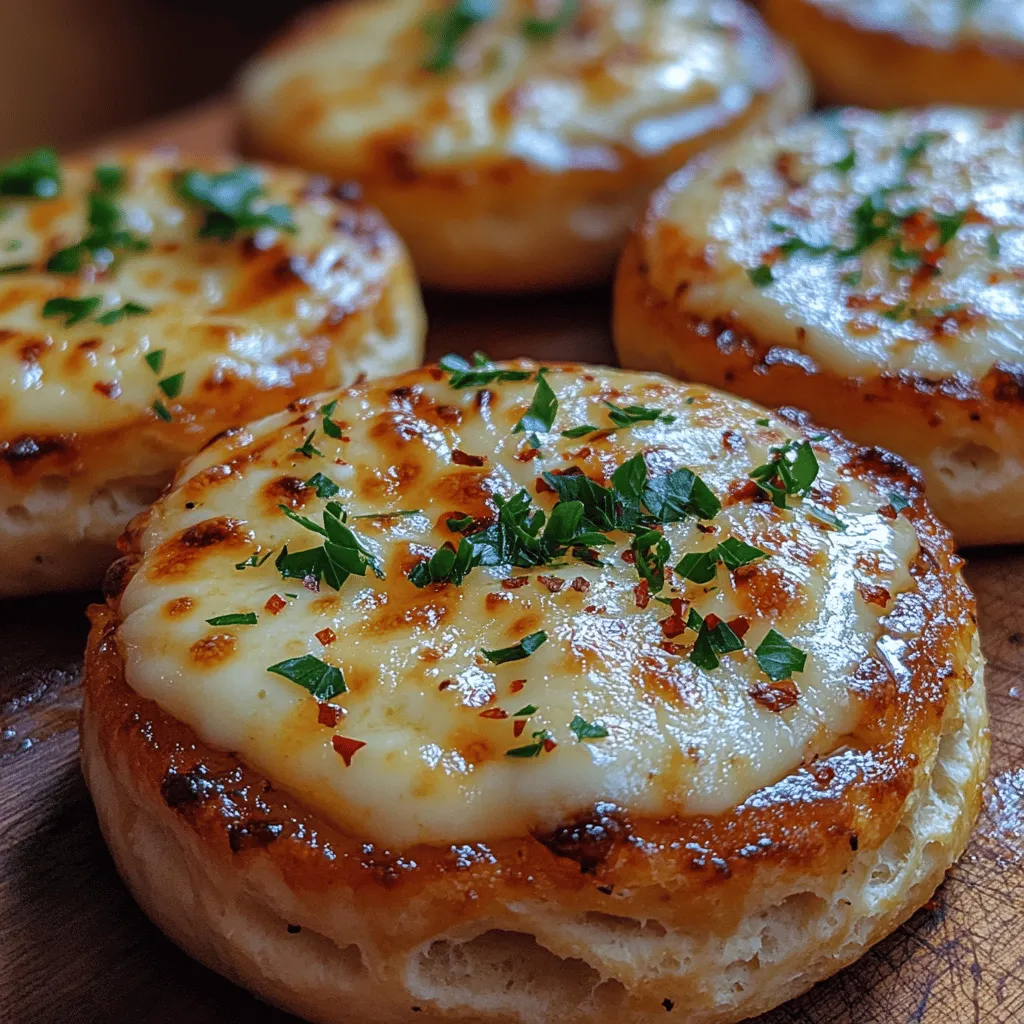
Cheesy Garlic Butter Bombs are the embodiment of indulgence, serving as a delightful appetizer or snack that is sure to impress. Imagine biting into a warm, golden-brown pastry, only to discover a gooey, cheesy center that oozes with flavor. This recipe combines the irresistible allure of melted cheese with the rich, buttery taste of garlic, creating a dish that is not only mouthwatering but also incredibly easy to prepare. It’s no wonder that these cheesy bites have become a staple at gatherings, parties, and even as a comforting treat for those cozy nights at home.
The appeal of Cheesy Garlic Butter Bombs lies not only in their flavor but in their versatility. Whether you’re hosting a game day party, looking for a quick snack to enjoy during movie night, or wanting to impress guests with minimal effort, these bombs fit the bill. Similar recipes have gained popularity due to their simplicity and satisfying nature, making them a favorite among comfort food enthusiasts. The warm aroma of garlic and melted cheese wafting through your kitchen will have everyone clamoring for a taste.
The Allure of Cheesy Garlic Butter Bombs
What makes Cheesy Garlic Butter Bombs so irresistible? It all starts with the flavor profile, which is a savory blend of garlic, herbs, and rich cheese. The garlic infuses the dough with its aromatic qualities, while the combination of mozzarella and Parmesan cheeses creates a delightful richness that keeps you coming back for more. Each bite is a harmonious blend of flavors that dance on your palate, making it hard to resist just one.
Texture plays a significant role in the allure of these bombs. The crispy outer layer provides a satisfying crunch, while the inside reveals a luscious, gooey cheese center that stretches with each pull. This contrast creates a delightful experience for your taste buds, making every bite enjoyable. The combination of textures adds an element of surprise that elevates the dish from a simple snack to a gourmet treat.
Cheesy Garlic Butter Bombs are not just a one-trick pony; their versatility is one of their greatest assets. They shine at parties as finger foods, can be served alongside soups or salads, or enjoyed as a comforting snack after a long day. They can even be customized to suit various tastes, making them suitable for any occasion. Whether you’re preparing them for a crowd or just for yourself, they are sure to be a hit.
Ingredients Breakdown
To create the perfect Cheesy Garlic Butter Bombs, it’s essential to understand the key ingredients that contribute to their delightful flavor and texture. Here’s a breakdown of what you’ll need:
– Refrigerated Biscuit Dough: This is the cornerstone of the recipe, offering convenience and ease of use. The pre-made dough allows you to whip up these bombs in no time, making them a go-to option for quick snacks or appetizers.
– Mozzarella and Parmesan Cheeses: The star players when it comes to flavor and meltability. Mozzarella provides that classic stretchy, gooey texture, while Parmesan adds a sharp, savory note that enhances the overall taste.
– Garlic: The hero of the dish, garlic not only enhances the flavor but also contributes a robust aroma that fills your kitchen. Fresh garlic is recommended for the best flavor, but garlic powder can be used in a pinch.
– Unsalted Butter: This ingredient is crucial for achieving the right richness and flavor. It also helps create a golden-brown exterior when baked, adding to the visual appeal of your finished bombs.
– Dried Herbs and Red Pepper Flakes: These additions can elevate the flavor profile of your bombs. Herbs like oregano and basil add depth, while red pepper flakes introduce a subtle heat, perfect for those who enjoy a kick.
– Fresh Parsley: Used as a garnish, fresh parsley not only adds a pop of color but also a hint of freshness that balances the richness of the cheese and butter.
When preparing your Cheesy Garlic Butter Bombs, the quality of the ingredients matters. Sourcing fresh herbs and high-quality cheeses can significantly impact the final result, ensuring your bombs are as flavorful and satisfying as possible. By using top-notch ingredients, you’ll elevate this simple recipe into a dish worthy of any occasion.
Step-by-Step Instructions
Preparing Cheesy Garlic Butter Bombs is an easy and quick process, perfect for cooks of all skill levels. Here’s a preparation overview to get you started:
1. Preheat Your Oven: Begin by preheating your oven to 375°F (190°C). This step is crucial, as it ensures that your bombs will bake evenly and develop that beautiful golden-brown color.
2. Prepare the Baking Sheet: Line a baking sheet with parchment paper or grease it lightly with cooking spray. This prevents the bombs from sticking and makes cleanup a breeze.
3. Mix the Garlic Butter: In a small bowl, melt the unsalted butter and combine it with minced garlic, dried herbs, and red pepper flakes. This mixture will infuse your bombs with mouthwatering flavor.
4. Assemble the Bombs: Open the refrigerated biscuit dough and separate it into individual biscuits. Flatten each biscuit into a small circle, then place a generous amount of mozzarella and Parmesan cheese in the center. Add a small spoonful of the garlic butter mixture on top of the cheese.
5. Seal the Bombs: Carefully fold the edges of the biscuit dough over the cheese and garlic mixture, pinching them together to seal. Make sure there are no gaps to prevent the cheese from leaking out during baking. Roll the sealed biscuit into a ball and place it seam-side down on the prepared baking sheet.
6. Brush with Garlic Butter: Once all the bombs are assembled, brush the tops with the remaining garlic butter mixture. This will give them a beautiful glaze and enhance the flavor.
7. Bake: Place the baking sheet in the preheated oven and bake for about 15-20 minutes or until the bombs are golden brown and cooked through.
These initial steps set the stage for creating a delicious batch of Cheesy Garlic Butter Bombs that are sure to become a favorite in your household. Stay tuned for the next part, where we’ll delve into additional tips for achieving the best results and address some common questions about this delightful recipe!
Preheating the Oven
For baking Cheesy Garlic Butter Bombs, preheating your oven to the right temperature is crucial. An oven set to 375°F (190°C) ensures that the biscuits rise properly and cook evenly, leading to a perfectly golden-brown exterior while keeping the inside gooey and cheesy. Preheating not only helps with the cooking time but also aids in achieving that desirable texture. Take a few moments to allow your oven to reach the right temperature while you prepare the other components of the recipe. This simple step can significantly enhance the outcome of your cheesy bombs.
Preparing the Garlic Butter
The heart of Cheesy Garlic Butter Bombs lies in the garlic butter coating, which infuses the biscuits with rich flavor. To create the perfect garlic butter, melt a stick of unsalted butter in a small saucepan over low heat. Add three to four cloves of minced garlic to the melted butter, allowing them to sauté gently. This process not only releases the aromatic qualities of the garlic but also balances the flavors. You can sprinkle in a pinch of salt, and if desired, a teaspoon of Italian seasoning or dried parsley to enhance the flavor profile further. Once the garlic is fragrant and the butter is fully melted, remove it from the heat and set it aside to cool slightly.
Biscuit Dough Preparation
When preparing the biscuit dough, you can either use store-bought refrigerated dough or make it from scratch. If you’re opting for homemade dough, combine 2 cups of all-purpose flour, 1 tablespoon of baking powder, and a pinch of salt in a mixing bowl. Cut in 1/4 cup of cold unsalted butter until the mixture resembles coarse crumbs. Gradually add 3/4 cup of milk, stirring until just combined.
Once your dough is ready, turn it out onto a floured surface. Gently knead the dough a few times until it becomes smooth. To create your cheesy bombs, you will need to flatten the dough. Use a rolling pin to roll it out to about 1/2-inch thickness. If you prefer, you can also use your hands to gently flatten each piece. Aim for uniformity in size for even baking and cooking.
Assembling the Cheesy Bombs
Now comes the fun part—assembling your Cheesy Garlic Butter Bombs. Start by cutting the dough into squares or circles, about 3 to 4 inches in diameter. Place a small cube of cheese (like mozzarella or cream cheese) in the center of each piece of dough. For a good seal, gather the edges of the dough together and pinch them tightly, ensuring no cheese is exposed. This step is vital, as it prevents the cheese from leaking out during baking. Once sealed, gently roll each bomb into a ball, ensuring that the cheese remains encased within.
Coating Process
After assembling your cheesy bombs, it’s time to coat them in the garlic butter. Dip each ball into the prepared garlic butter thoroughly, ensuring each bomb is well-coated. This ensures that every bite is infused with that rich, buttery garlic flavor. Be generous with the coating, as this will contribute to the overall flavor and prevent the bombs from baking dry. After coating, place the bombs on a baking sheet lined with parchment paper, ensuring they are spaced apart to allow for even cooking.
Baking Tips
To achieve the perfect golden-brown finish, bake your Cheesy Garlic Butter Bombs in the preheated oven at 375°F (190°C) for approximately 15-20 minutes. Keep an eye on them during the last few minutes of baking; you want them to be puffed up and golden without burning. The aroma that fills your kitchen will be a testament to their deliciousness. If you want an extra crispy top, consider broiling them for an additional minute or two at the end, but watch closely to avoid burning.
Garnishing and Serving
Once baked to perfection, remove your Cheesy Garlic Butter Bombs from the oven and let them cool for a few minutes on the pan. For an extra touch of flavor and visual appeal, you can garnish them with freshly chopped parsley or a sprinkle of grated Parmesan cheese. Serving these cheesy bombs warm is key, as the gooey cheese inside is best enjoyed fresh. Pair them with marinara sauce or garlic dipping sauce for an irresistible appetizer or snack that will leave your guests wanting more.
Variations and Customizations
While the classic Cheesy Garlic Butter Bombs are undeniably delicious, there are many ways to customize this recipe to suit your taste preferences.
– Cheese Alternatives: Experiment with different types of cheese. Cheddar, gouda, or pepper jack can add unique flavors and textures to your bombs. Each cheese will bring its own character, allowing you to tailor the dish to your liking.
– Additional Fillings: Consider incorporating cooked bacon bits, sautéed spinach, or even jalapeños for an added kick. These fillings can enhance the flavor and make the bombs more substantial.
– Spice It Up: If you like a bit of heat, add crushed red pepper flakes or a dash of cayenne pepper to the garlic butter. Fresh herbs like oregano or basil can also elevate the flavor profile, providing a fresh, aromatic quality to the dish.
Nutritional Information
Understanding the nutritional content of your Cheesy Garlic Butter Bombs can help you enjoy them in moderation. Each serving (approximately two bombs) contains around 250 calories, with about 15 grams of fat, 20 grams of carbohydrates, and 5 grams of protein. Depending on your choice of cheese and dough, these numbers may vary.
For those with dietary considerations, gluten-free options can be made by using gluten-free biscuit mix or flour. Additionally, you can look for low-fat cheese alternatives to reduce the calorie count while still indulging in this delightful treat. Balance is key; while these bombs are a comfort food, enjoying them occasionally with healthier ingredient swaps can help maintain your dietary goals.
Conclusion
Cheesy Garlic Butter Bombs are the ultimate comfort food, combining rich flavors and gooey textures that make them irresistible. Whether served at a gathering, as a party appetizer, or simply enjoyed as a late-night snack, these bombs are sure to delight anyone who takes a bite. With easy preparation and endless customization options, you can create a version that’s uniquely yours.
We encourage you to try this recipe at home for a fun and delightful cooking experience. Enjoy the process of making these cheesy delights, and relish the joy of sharing them with family and friends. The satisfaction of pulling apart a warm bomb with melted cheese oozing out is a pleasure that transcends the dish itself, creating lasting memories around the table. So roll up your sleeves, gather your ingredients, and dive into the delicious world of Cheesy Garlic Butter Bombs!