Introduction
Welcome to the delightful world of Garden Delight Dirt Cake! This whimsical dessert is not just a treat for the taste buds; it’s a feast for the eyes and an experience for the soul. With its playful presentation and rich flavors, the Garden Delight Dirt Cake is a crowd-pleaser bound to bring smiles to faces of all ages. This dessert is particularly popular at gatherings, parties, and special occasions, making it a perfect choice for birthdays, picnics, or even holiday celebrations.
What makes the Garden Delight Dirt Cake so special is its ease of preparation. Even those with minimal baking experience can whip up this dessert with confidence. The combination of creamy layers, crunchy textures, and fun decorations makes it a kid-friendly recipe that invites little chefs to join in on the fun. Whether you’re making it for a children’s party or to surprise your family, this dirt cake will undoubtedly become a cherished favorite.
The Allure of Dirt Cake
Dirt cake has a rich history in American cuisine, often evoking cherished memories of childhood. This fun dessert made its debut in the 1980s, quickly becoming a staple at family gatherings and casual celebrations. The idea of dirt cake is simple yet ingenious: combining layers of creamy filling and crushed cookies to create the illusion of dirt, all while being entirely edible and delicious!
Children are especially drawn to this dessert, often associating it with fun activities like digging in the garden or playing in the dirt. The playful appearance, complete with gummy worms and mint leaves to mimic plants, makes it a whimsical addition to any dessert table. This nostalgia surrounding dirt cake is what has kept it popular through the decades, as families continue to create their own versions of this classic recipe, often adding personal touches and variations.
Interestingly, dirt cake has inspired countless adaptations. From chocolate variations to fruity twists, this dessert has evolved over time, allowing for creativity and personalization. Some bakers even incorporate different flavor profiles, such as peanut butter or coconut, showcasing the versatility of this beloved treat.
Ingredients Breakdown
Before we dive into the preparation of the Garden Delight Dirt Cake, it’s essential to understand the key ingredients that come together to create this delicious dessert. Each component plays a crucial role, contributing to the overall flavor and texture.
Chocolate Sandwich Cookies: The Base and Texture
The foundation of any dirt cake is the crushed chocolate sandwich cookies, which provide that signature “dirt” look. These cookies not only give the dessert its characteristic color but also contribute a delightful crunch to each bite. The richness of the chocolate pairs perfectly with the creamy filling, creating a mouthwatering contrast that enhances the overall experience.
Unsalted Butter and Cream Cheese: The Creamy Filling
A rich and velvety filling is essential for a great dirt cake, and that’s where unsalted butter and cream cheese come into play. The butter adds a smooth richness, while the cream cheese imparts a slight tanginess that balances the sweetness of the dessert. Together, they create a luscious layer that complements the chocolate cookie crust beautifully.
Powdered Sugar and Vanilla Extract: Sweetness and Flavor
To sweeten the filling, powdered sugar is used. It dissolves easily, ensuring a smooth texture without any graininess. When combined with a splash of vanilla extract, the filling transforms into a flavor-packed layer that elevates the entire dessert. The warm, comforting notes of vanilla create a familiar and inviting flavor profile that everyone loves.
Instant Vanilla Pudding: Structure and Creaminess
Instant vanilla pudding mix is a secret weapon in this recipe. It not only enhances the creaminess of the filling but also provides stability, helping the layers hold together perfectly. This ingredient is what makes the dirt cake so indulgent, adding a luscious quality that makes it hard to resist.
Cool Whip: Lightness and Fluffiness
To achieve that light and fluffy texture, Cool Whip is folded into the creamy mixture. This whipped topping adds volume and airiness, making the dessert feel less heavy while still delivering rich flavors. The combination of the Cool Whip with the cream cheese and pudding creates a delightful consistency that melts in your mouth.
Gummy Worms and Mint Leaves: Decorative Elements
No dirt cake is complete without its signature decorations! Gummy worms add an element of fun, making it look like a real garden, while fresh mint leaves provide a pop of color and a touch of freshness. These decorative elements not only enhance the visual appeal but also add a whimsical touch that delights children and adults alike.
Step-by-Step Instructions
Now that we’ve covered the essential ingredients, it’s time to get into the nitty-gritty of preparing the Garden Delight Dirt Cake. Below are the detailed preparation steps for each phase of the recipe, starting with how to prepare the crust.
Preparing the Crust: Techniques for Crushing Cookies
1. Gather Your Ingredients: Start by gathering your chocolate sandwich cookies. You will need about 24 full-sized cookies to create the crust. Having them ready will streamline the process.
2. Crushing the Cookies: There are a few methods to crush the cookies effectively:
– Using a Food Processor: Place the cookies in a food processor and pulse until they reach a fine crumb consistency. This method is quick and ensures uniformity.
– Using a Ziplock Bag and Rolling Pin: If you don’t have a food processor, place the cookies in a sturdy ziplock bag, seal it, and crush them with a rolling pin until you achieve fine crumbs. This method also adds a bit of physical activity, which can be fun for kids!
3. Creating the Crust Mixture: Once you have your cookie crumbs, transfer them to a mixing bowl. Add in melted unsalted butter (approximately ½ cup) and stir until all the crumbs are evenly coated. The mixture should resemble wet sand, holding together when pressed. This will form the base of your dirt cake.
4. Layering the Crust: Take a 9×13 inch baking dish or a large trifle bowl, and evenly spread the cookie crumb mixture across the bottom. Use the back of a measuring cup or your hands to pack it down firmly. This will create a solid crust that will hold up when the creamy filling is added.
5. Chilling the Crust: After packing the crust, place the baking dish in the refrigerator for about 15-20 minutes. This step helps to firm up the crust, making it easier to layer the filling on top.
As the crust chills, you can prepare the creamy filling, which will be the star of the Garden Delight Dirt Cake. The next steps will guide you through the process of creating this delicious mixture that will bring everything together.
—
This introduction and the initial steps of the recipe provide a solid foundation for the Garden Delight Dirt Cake article. By focusing on the whimsical nature of the dessert and its nostalgic appeal, this section sets the stage for readers to engage with the recipe further. From understanding the ingredients to beginning the preparation process, readers will be excited to continue crafting this delightful cake.
Mixing the Cream Cheese Mixture: Tips for Achieving the Right Consistency
To create the dreamy cream cheese layer that perfectly complements the chocolate pudding in your Garden Delight Dirt Cake, achieving the right consistency is crucial. Begin by ensuring that your cream cheese is at room temperature; this will facilitate a smoother blending process. If the cream cheese is too cold, it may result in lumps that are difficult to incorporate.
Using a hand mixer or a stand mixer, beat the softened cream cheese until it is creamy and free of lumps. Gradually add in the powdered sugar and vanilla extract, mixing until thoroughly combined. The mixture should be smooth and spreadable but not too runny. If it appears too thick, consider adding a tablespoon of milk at a time until you reach your desired consistency. Remember, this layer should be thick enough to hold its shape when layered but soft enough to spread easily.
Preparing the Pudding: Ensuring Proper Thickness
Next, it’s time to prepare the pudding. For the best results, you should use instant chocolate pudding mix, as it sets quickly and provides a rich, velvety texture that pairs beautifully with the cream cheese layer. In a medium bowl, combine the pudding mix with the cold milk, whisking vigorously for about two minutes. The mixture should thicken significantly, forming a creamy pudding consistency.
If you prefer a richer flavor, consider substituting half of the milk with heavy cream. This will enhance the creaminess and provide a more indulgent texture. Allow the pudding to sit for a few minutes after mixing to ensure it thickens to your desired consistency before combining it with the cream cheese mixture.
Combining Mixtures: Best Practices for a Smooth Blend
Once both the cream cheese mixture and pudding are ready, it’s time to combine them. Begin by adding half of the prepared pudding into the cream cheese mixture. Gently fold the pudding into the cream cheese, using a spatula to incorporate them without deflating the mixture. This gentle folding technique will help maintain the airiness of the cream cheese layer.
After the initial combination, add the remaining pudding and continue folding until you achieve a uniform mixture with no streaks of cream cheese remaining. The goal is to create a thick and luscious filling that will hold its shape when layered in the dessert.
Assembling the Dirt Cake: Layering Techniques for Visual Appeal
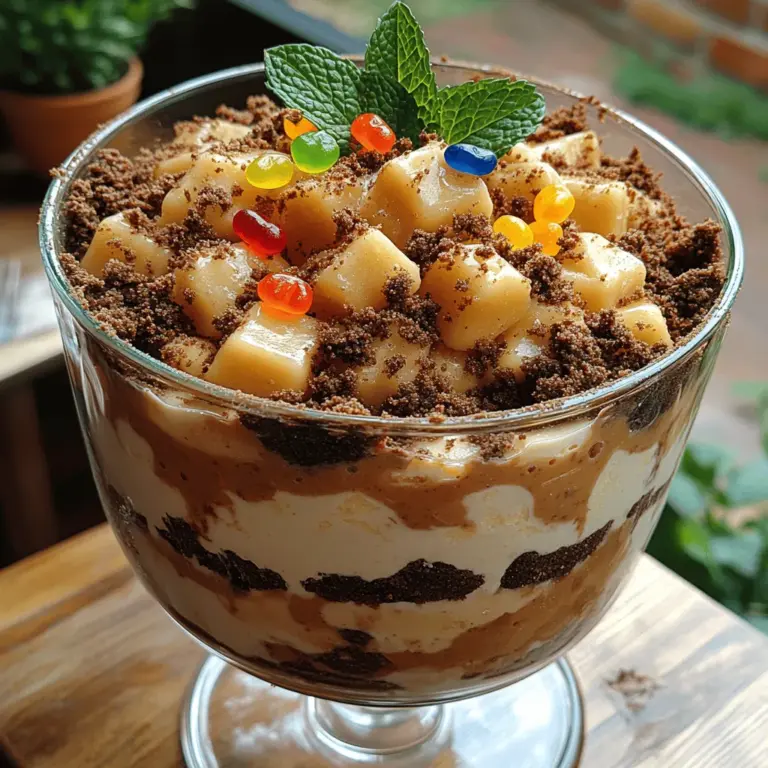
The assembly of your Garden Delight Dirt Cake is where creativity shines. Start with a clean, clear trifle dish or a large glass bowl, as this will allow the beautiful layers to be visible. Begin by spooning a generous layer of the chocolate cookie crumbs at the bottom, creating a “dirt” base.
Next, use a spatula to spread half of the cream cheese and pudding mixture over the cookie layer, smoothing it out evenly. Follow this with another layer of chocolate cookie crumbs, then another layer of the cream cheese mixture. Repeat the process until you reach the top of your dish, finishing with a final layer of cookie crumbs for that authentic dirt look.
For an added touch, consider using a small shovel or garden tool as a serving utensil to enhance the garden theme. This playful element will delight your guests and add to the overall experience.
Finishing Touches: Garnishing Tips for Maximum Effect
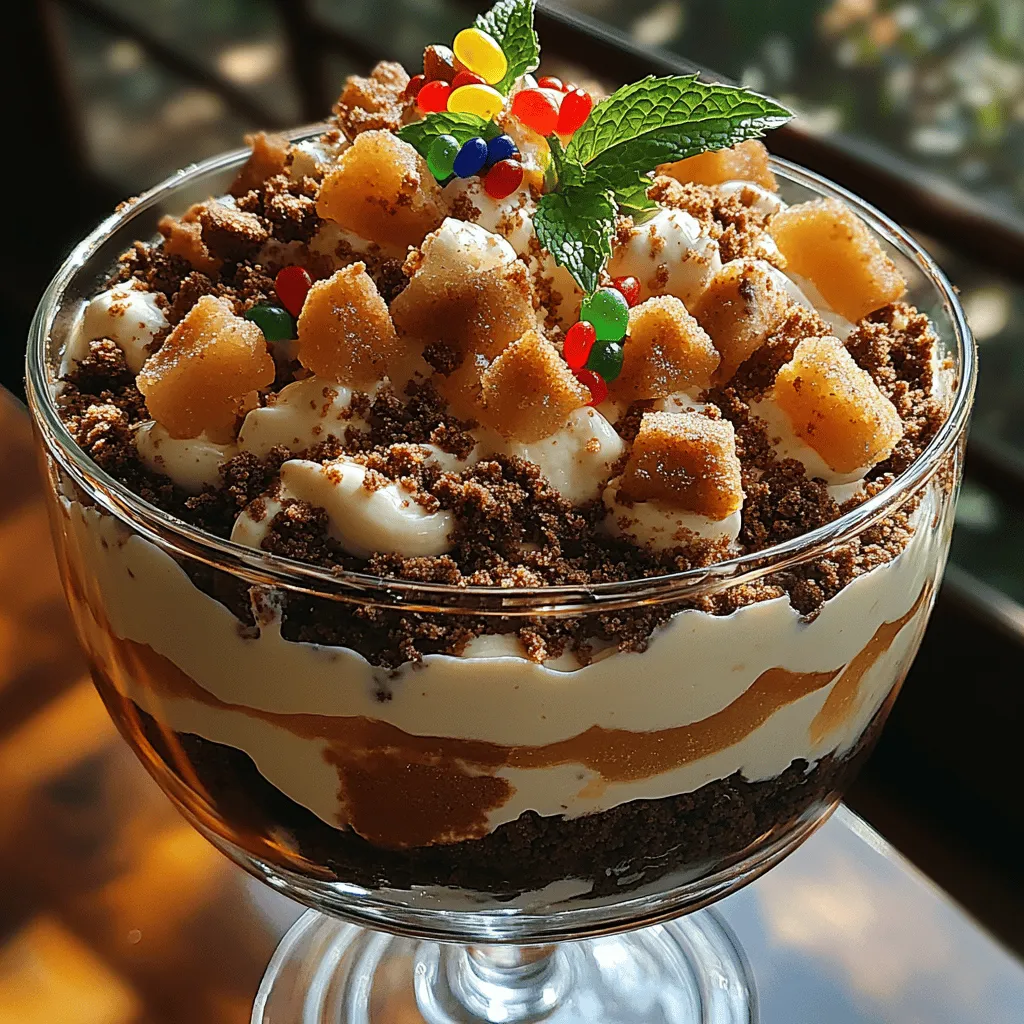
Garnishing your Garden Delight Dirt Cake is essential for making it visually appealing. Once the layers are complete, sprinkle the top generously with more chocolate cookie crumbs. This not only reinforces the “dirt” theme but also adds a delightful crunch.
To bring the garden theme to life, consider adding edible decorations such as gummy worms, chocolate-covered strawberries, or colorful candy flowers. Fresh mint leaves or edible flowers can also provide a beautiful contrast against the dark chocolate layers. Arrange these garnishes artfully on top just before serving to ensure they look fresh and vibrant.
Chilling Time: Importance of Refrigeration for Flavor Melding
Once your dirt cake is assembled, it’s crucial to refrigerate it for at least 4 hours, although overnight is ideal. Chilling allows the flavors to meld together, enhancing the overall taste of the dessert. The coolness also helps firm up the layers, making it easier to slice and serve.
Before serving, remove the cake from the refrigerator and let it sit for about 15 minutes to take off the chill and allow the flavors to shine. This step is particularly important if you’re serving the cake in a cooler environment, as it will enhance the creamy texture.
Visual Appeal of the Cake
Creating an inviting presentation is key when it comes to desserts, especially one as whimsical as the Garden Delight Dirt Cake. The layered effect of the dark cookie crumbs, creamy filling, and colorful garnishes creates a feast for the eyes.
Importance of Presentation in Desserts
A well-presented dessert not only makes the dish more appealing but also heightens the dining experience. When serving the dirt cake, consider using clear serving dishes to showcase the beautiful layers. This transparency invites curiosity and excitement, encouraging guests to dig in.
Ideas for Serving and Showcasing the Dirt Cake at Events
If you’re hosting a garden-themed party, this cake can be the centerpiece of your dessert table. Use a wooden board or a decorative tray adorned with faux grass or flowers to create a garden setting. Individual servings in small cups can also be a fun way to present the dessert, allowing guests to easily grab their own portions.
Suggestions for Alternative Garnishes and Themes
Feel free to get creative with your garnishes based on the occasion. For a birthday party, colorful sprinkles or themed decorations can add a festive touch. For a more elegant affair, consider using fresh berries or a light dusting of powdered sugar on top to create a more refined look.
Nutritional Information
Understanding the nutritional profile of your dessert can be helpful, especially for those mindful of their dietary intake.
Breakdown of Calories and Nutritional Content per Serving
A standard serving of Garden Delight Dirt Cake (approximately 1 cup) contains around 400 calories. This includes a balance of carbohydrates from the cookie crumbs, sugars from the pudding and cream cheese mixture, and fats from the cream cheese and whipped topping. Here’s a rough breakdown:
– Calories: 400
– Total Fat: 20g
– Saturated Fat: 10g
– Cholesterol: 25mg
– Sodium: 200mg
– Total Carbohydrates: 50g
– Dietary Fiber: 2g
– Sugars: 30g
– Protein: 4g
Discussion of Ingredient Substitutions for Dietary Restrictions
For those with dietary restrictions, there are several substitutions that can be made. For a gluten-free version, use gluten-free chocolate cookie crumbs in place of traditional ones. If you’re looking to reduce sugar, you can opt for sugar-free pudding mix and use a sugar substitute for the cream cheese mixture.
Additionally, dairy-free cream cheese and whipped topping can be utilized to create a vegan version of this delightful cake. These adjustments allow everyone to enjoy the playful nature of this dessert without compromise.
Insights into the Balance of Indulgence and Enjoyment
While Garden Delight Dirt Cake is certainly a decadent treat, it can be enjoyed in moderation as part of a balanced diet. The combination of textures and flavors offers a delightful indulgence that brings joy and nostalgia, making it a perfect dessert for gatherings and celebrations.
Pairing Suggestions
Pairing your dessert with the right beverages and additional treats can enhance the overall experience.
Recommended Beverages to Serve Alongside the Dirt Cake
A rich Garden Delight Dirt Cake pairs beautifully with a variety of beverages. For a classic choice, serve with a glass of cold milk, which complements the chocolate flavors perfectly. Alternatively, consider a fruity iced tea or a light sparkling lemonade, which can add a refreshing contrast to the richness of the cake.
For adult gatherings, a sweet dessert wine or a light-bodied coffee can be a delightful pairing, enhancing the flavors of the cake while providing a sophisticated touch.
Other Desserts that Complement the Earthy Tones of the Dirt Cake
To create a dessert spread that harmonizes with your dirt cake, consider serving lighter options that balance the richness. Fresh fruit tarts, mini cheesecakes, or even a simple vanilla panna cotta can provide a refreshing contrast. These options allow guests the opportunity to sample a variety of flavors while enjoying the whimsical nature of the dirt cake.
Themed Party Ideas that Align with the Whimsical Nature of the Dessert
For those planning a garden party, the Garden Delight Dirt Cake can be part of a larger theme. Consider incorporating other garden-inspired elements, such as flower-shaped cookies, fruit skewers arranged like bouquets, and even a DIY potting station where guests can plant their own herbs or flowers. This interactive element engages guests and enhances the overall experience.
Conclusion
The Garden Delight Dirt Cake embodies charm and creativity, making it a standout dessert for any occasion. Its playful presentation, rich flavors, and versatile nature allow it to fit seamlessly into various themes and settings. Whether you’re celebrating a birthday, hosting a garden party, or simply indulging in a sweet treat with family, this dessert is sure to bring smiles and joy.
I encourage you to try making this delightful dirt cake and share it with your loved ones. The joy of creating and sharing such a whimsical dessert is an experience that transcends age, making it a perfect addition to cherished family gatherings and celebrations. Let the Garden Delight Dirt Cake become part of your culinary repertoire, and enjoy the playful experience it offers!
