
There’s something undeniably nostalgic about a classic apple pie—a warm, golden crust enveloping tender, spiced apples. This dessert is more than just a treat; it’s a symbol of home, warmth, and togetherness, often evoking memories of family gatherings and festive celebrations. The aroma of a freshly baked apple pie wafting through the kitchen is a cue for comfort and joy, reminding us of simpler times spent with loved ones.
There’s something undeniably nostalgic about a classic apple pie—a warm, golden crust enveloping tender, spiced apples. This dessert is more than just a treat; it’s a symbol of home, warmth, and togetherness, often evoking memories of family gatherings and festive celebrations. The aroma of a freshly baked apple pie wafting through the kitchen is a cue for comfort and joy, reminding us of simpler times spent with loved ones.
In this post, we will take you through the process of creating Grandma’s classic apple pie from scratch. We’ll emphasize the importance of using fresh, high-quality ingredients and traditional methods that have stood the test of time. Prepare to embark on a culinary journey that will not only fill your home with delightful scents but also create lasting memories for you and your family.
Apple pie is often heralded as the quintessential American dessert, celebrated for its simple yet profound flavors. From its historical roots dating back to early colonial times to its current status as a beloved staple at holidays and family gatherings, apple pie holds a special place in the hearts of many. It’s often said that “as American as apple pie,” which speaks volumes about its cultural significance. This dessert represents the melting pot of influences that make up American cuisine, combining elements from various culinary traditions.
Each slice of apple pie tells a story—a story of cherished family recipes passed down through generations, of laughter shared over a warm dessert, and of the love put into each ingredient. Perhaps you remember a time when your grandmother would gather the family in the kitchen, her hands skillfully rolling out dough while the apples simmered on the stove. Or maybe you recall the excitement of waiting for the pie to cool before finally indulging in that first heavenly bite. These personal anecdotes are what make baking apple pie so special; it is a ritual steeped in tradition that unites us all.
Baking is not just about the final product; it’s about the experience—the joy of mixing ingredients, the anticipation of watching it bake, and the satisfaction of sharing it with others. Homemade apple pie is a labor of love that brings comfort to both the baker and those fortunate enough to enjoy a slice.
To create an exceptional apple pie, understanding the role of each ingredient is crucial. We will break down the key components that contribute to the overall success of Grandma’s classic apple pie.
The foundation of any great pie is its crust. A flaky, buttery crust can elevate an apple pie from ordinary to extraordinary. The secret lies in the use of cold butter. When cold butter is incorporated into the flour, it creates small pockets of fat that, when baked, produce a beautifully flaky texture.
Proper dough handling is also essential. Overworking the dough can lead to a tough crust instead of the tender, melt-in-your-mouth texture we desire. Remember to measure your ingredients accurately to achieve the right balance between flour and fat.
Next, let’s talk about the star of the show: the apple filling. The choice of apples can significantly influence the flavor and texture of your pie. Popular varieties for apple pie include Granny Smith, for their tartness; Honeycrisp, for their sweetness; and Braeburn, known for their balance of flavor. Mixing different varieties can create a more complex and delightful filling.
The harmony of spices in the filling is another key factor. Cinnamon and nutmeg are traditional spices that enhance the natural sweetness of the apples, adding warmth and depth. A touch of lemon juice brightens the flavor and balances the sweetness, while a hint of vanilla extract rounds out the profile, making each bite a delicious experience.
Now that we’ve discussed the importance of ingredients, let’s dive into the detailed instructions for preparing the flaky pie crust.
Begin by gathering your ingredients for the crust: all-purpose flour, cold unsalted butter, salt, sugar, and ice water. Accurate measurements are vital to achieving the perfect consistency.
In a large mixing bowl, combine the all-purpose flour, sugar, and salt. Whisk them together to ensure they are well-blended. This dry mixture will form the base of your crust.
Next, cut the cold butter into small cubes—about half an inch in size. Add the butter to the dry ingredients and use a pastry cutter or your fingertips to work the butter into the flour. The goal here is to create a mixture that resembles coarse crumbs with some larger pea-sized pieces of butter remaining. This step is crucial; overworking the butter can lead to a dense crust, so handle the dough gently.
Slowly add ice water to the mixture, one tablespoon at a time. Use a fork or your hands to gently mix the dough until it just comes together. Be careful not to add too much water; the dough should be moist but not sticky.
Once the dough has formed, divide it into two equal discs. Wrap each disc tightly in plastic wrap and refrigerate for at least one hour. Chilling the dough is essential as it allows the gluten to relax, resulting in a more tender crust. It also helps the butter firm up, which is crucial for achieving that flaky texture.
As the dough chills, it’s important to keep an eye on the consistency. When you remove it from the refrigerator, it should be firm but pliable. If it feels too hard, let it sit at room temperature for a few minutes before rolling it out.
With your dough prepared and chilled, you’re well on your way to crafting the perfect apple pie. The next step will involve creating the apple filling, an equally important part of this classic recipe. Stay tuned as we guide you through crafting that perfect apple filling to accompany your flaky crust!
Step-by-Step Guide to Preparing the Apple Filling
To create the perfect apple filling for Grandma’s classic apple pie, start by selecting the right apples. The ideal apple pie filling combines sweet and tart flavors, which enhances the overall taste of the pie. Begin by peeling your chosen apples. Use a sharp vegetable peeler or a paring knife to remove the skins. Once peeled, cut the apples into quarters and remove the cores. Then slice the apples into even pieces — about 1/4 inch thick — ensuring uniform cooking.
When it comes to selecting apples, consider using a mix of Granny Smith and Honeycrisp. Granny Smith apples provide the tartness, while Honeycrisps add a touch of sweetness and a delightful crunch. Other excellent choices include Fuji, Braeburn, and Jonagold. Mixing different apple varieties not only enhances flavor but also offers a more complex texture.
Once the apples are sliced, place them in a large bowl, and sprinkle them with lemon juice to prevent browning. This also adds a bright flavor to the filling. Next, add sugar, cinnamon, nutmeg, and a pinch of salt. Toss everything together until the apples are well-coated with the mixture. Allow the filling to rest for about 15-30 minutes. This resting period is crucial as it allows the flavors to meld together and the apples to release some of their juices, leading to a more flavorful filling.
Assembling the Pie
Now that your apple filling is ready, it’s time to assemble the pie. Begin by rolling out your dough on a lightly floured surface. Use a rolling pin to gently flatten the dough into a circle about 1/8 inch thick. If the dough sticks, sprinkle a little more flour as needed. It’s important to keep the dough cold but workable; if it becomes too warm, it may become difficult to handle.
Once rolled out, carefully transfer the dough to your pie pan. You can do this by gently rolling the dough around the rolling pin and unrolling it over the pan. Press the dough into the bottom and sides of the pan, ensuring that there are no air bubbles. Trim any excess dough hanging over the edges.
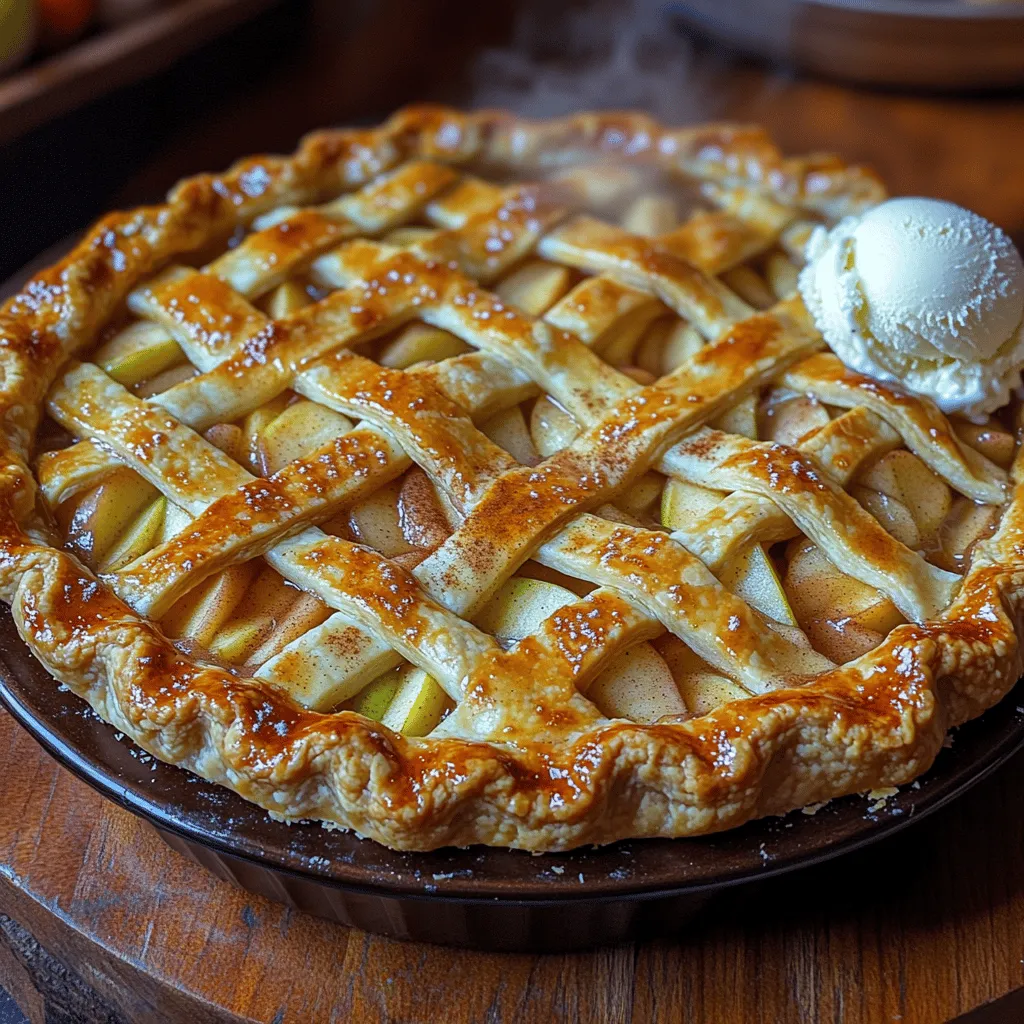
Next, spoon the prepared apple filling into the crust, making sure to distribute it evenly. For the top, you have two options: a full crust or a lattice top. If you choose a full crust, roll out another piece of dough and place it over the filling. Cut a few slits in the top to allow steam to escape. If you opt for a lattice top, cut the dough into strips and weave them over the filling, creating a beautiful pattern. Whichever option you choose, don’t forget to vent the top crust to prevent steam buildup, which can cause the pie to become soggy.
To enhance the pie’s presentation, consider crimping the edges. Use your fingers to pinch the dough together or use a fork to create a decorative edge. This not only seals the pie but also adds a nice touch to your finished product.
The Baking Process
With the pie assembled, it’s time to bake. Preheat your oven to 425°F (220°C). This high temperature is crucial for achieving a golden, flaky crust. Bake the pie for about 15-20 minutes at this temperature, then reduce the heat to 350°F (175°C) and continue baking for an additional 30-40 minutes.
You’ll know your pie is perfectly baked when the crust is golden brown and the filling is bubbling through the vents. Keep an eye on the edges of the crust; if they start to brown too quickly, cover them with strips of aluminum foil to prevent burning.
Common baking issues might include an undercooked filling or over-browned crust. If you find the filling isn’t bubbling after the recommended baking time, it may need a little longer in the oven. Conversely, if the crust is browning too fast, adjust the temperature down slightly and cover the edges with foil.
Cooling and Serving the Pie
Once you’ve removed the pie from the oven, allow it to cool on a wire rack for at least two hours. This cooling time is essential for the filling to set properly, making it easier to slice without making a mess.
When it’s time to serve, consider pairing your warm apple pie with a scoop of vanilla ice cream or a dollop of whipped cream. The creamy texture of the ice cream beautifully complements the warm, spiced apples, creating a comforting dessert experience.
If you have leftovers, store the pie in an airtight container at room temperature for up to two days, or in the refrigerator for up to a week. To reheat, place slices in the oven at 350°F (175°C) for about 10-15 minutes, or until warmed through. The crust will regain its crispiness, making it just as delightful as when it was freshly baked.
Conclusion
There’s something profoundly satisfying about creating a classic apple pie from scratch. The process of peeling apples, rolling dough, and assembling each layer invokes a sense of nostalgia and connection to family traditions. Each bite of this homemade pie bursts with flavor, offering a delightful blend of sweetness and spice that evokes memories of Grandma’s kitchen.
We encourage you to try this recipe and share your experiences with friends and family. Baking can be a therapeutic activity, allowing you to unwind and connect with your culinary roots. Whether it’s a family gathering or a quiet evening at home, nothing beats the joy of serving a fresh, homemade apple pie. So roll up your sleeves, gather your ingredients, and enjoy the process of creating this timeless dessert that brings everyone together. Happy baking!
Introduction If you’re searching for a dish that combines simplicity with robust flavor, look no…
Indulge in Cheesy Delight Baked Ziti: A Comforting Classic Introduction Baked ziti is a beloved…
Spicy Comfort Casserole: Creamy Buffalo Chicken Pasta Bake Introduction In the ever-evolving world of culinary…
Title: Slow Cooked Maple Apple Pork Chops: A Delicious Comfort Dish for Any Occasion Introduction…
Hearty Savory Ground Beef and Potato Pie: A Comfort Food Classic In the world of…
Golden Buttermilk Waffle Breakfast Sliders: A Delicious Morning Treat Breakfast sliders have rapidly gained popularity…


