
In the realm of desserts, few things can match the luxurious allure of a cheesecake, especially when infused with the rich, velvety essence of Godiva chocolate. The Decadent Godiva Chocolate Cheesecake is not just a dessert; it’s an experience that tantalizes the taste buds and elevates any occasion. Whether you’re celebrating a special milestone or simply treating yourself after a long week, this cheesecake promises to deliver unparalleled satisfaction. In this article, we will explore the recipe in detail, providing you with insights into each step, ingredient, and technique that makes this cheesecake a true masterpiece.
The Allure of Chocolate Cheesecake
Understanding the Popularity of Cheesecake
Cheesecake has a storied history that dates back to ancient Greece, where it was served to athletes during the first Olympic Games in 776 B.C. The Romans later adapted this creamy delight, spreading its popularity throughout Europe. Over centuries, cheesecake has evolved into countless variations, reflecting the ingredients and tastes of different cultures. From the dense, rich New York-style cheesecake to the lighter, fluffier Italian ricotta cheesecake, this dessert has captured the hearts and palates of people around the world.
Among the myriad of cheesecake variations, chocolate cheesecakes stand out for their decadence. Chocolate, a beloved ingredient in desserts, adds an irresistible depth of flavor that transforms a traditional cheesecake into a luxurious treat. The combination of creamy cheese and rich chocolate creates a harmonious blend that appeals to chocolate lovers and cheesecake aficionados alike.
The Role of Godiva Chocolate
When it comes to chocolate, few brands evoke the same level of prestige and indulgence as Godiva. Founded in 1926 in Brussels, Belgium, Godiva has built a reputation for crafting some of the finest chocolates in the world. Known for their commitment to quality and craftsmanship, Godiva chocolates are made from the highest-quality cocoa beans, resulting in a smooth, rich flavor that is simply unmatched.
The unique flavor profile of Godiva chocolate elevates the cheesecake experience to new heights. Unlike standard chocolate, Godiva offers complex notes of cocoa, creaminess, and subtle sweetness that meld beautifully with the tangy cream cheese. This luxurious chocolate not only enhances the flavor but also contributes to the overall texture of the cheesecake, creating a silky, smooth filling that melts in your mouth. Using Godiva chocolate in your cheesecake ensures that every bite is a decadent experience, making it the star ingredient in this recipe.
Ingredients Breakdown: The Key Players in Your Cheesecake
To create the perfect Decadent Godiva Chocolate Cheesecake, you’ll need a selection of high-quality ingredients that work together harmoniously. Here’s a breakdown of what you’ll need:
Essential Ingredients for the Crust
The crust is the foundation of any cheesecake, providing a crunchy contrast to the creamy filling. For this recipe, we will use:
– Chocolate Cookie Crumbs: Choosing the right cookies is crucial for a flavorful crust. Opt for chocolate wafer cookies or Oreos, as their rich cocoa content will enhance the overall chocolate flavor of the cheesecake.
– Unsalted Butter: The quality of butter is essential in achieving a rich and flavorful crust. Unsalted butter allows you to control the salt content and ensures the crust is perfectly balanced.
– Sugar: While chocolate cookies are already sweet, a touch of sugar in the crust helps to balance the flavors and enhance the overall sweetness of the dessert.
Crafting the Cheesecake Filling
The filling is the heart of the cheesecake, and the combination of ingredients used is vital for achieving the desired texture and flavor. Here’s what you’ll need:
– Cream Cheese: Select a high-quality cream cheese for a creamy texture. Full-fat varieties yield the best results, providing that rich, dense creaminess that cheesecake lovers crave.
– Sugar: The sugar in the filling balances the tanginess of the cream cheese and enhances the overall sweetness of the cheesecake. Granulated sugar is typically used, but feel free to experiment with alternatives like brown sugar for a richer flavor.
– Vanilla Extract: A splash of pure vanilla extract enhances the overall flavor profile, adding warmth and depth to the cheesecake.
– Eggs: Eggs are essential for achieving the perfect texture. They help bind the filling together and create a smooth, creamy consistency while contributing to the cheesecake’s structure.
– Sour Cream: Adding sour cream brings a delightful richness and tanginess to the cheesecake, balancing the sweetness and enhancing its flavor.
– Godiva Chocolate: As the star ingredient of the filling, Godiva chocolate is what makes this cheesecake truly decadent. Melted and incorporated into the filling, it provides a rich chocolate flavor and a silky texture.
– All-Purpose Flour: A small amount of flour helps to stabilize the cheesecake, preventing it from cracking while baking. It also contributes to the overall structure of the filling.
Ganache Topping Essentials
A luxurious ganache topping not only adds visual appeal but also enhances the flavor profile of the cheesecake. For the ganache, you will need:
– Heavy Cream: The fat content in heavy cream is crucial for achieving a silky smooth ganache. It helps to create a rich, luscious topping that complements the cheesecake perfectly.
– Godiva Chocolate: Using Godiva chocolate in the ganache ensures that the topping is just as decadent as the filling. Its rich flavor will enhance the overall chocolate experience.
– Unsalted Butter: A small amount of unsalted butter adds shine and richness to the ganache, making it glossy and inviting.
Optional Garnishes for a Stunning Presentation
To elevate your cheesecake and make it visually stunning, consider adding a few garnishes:
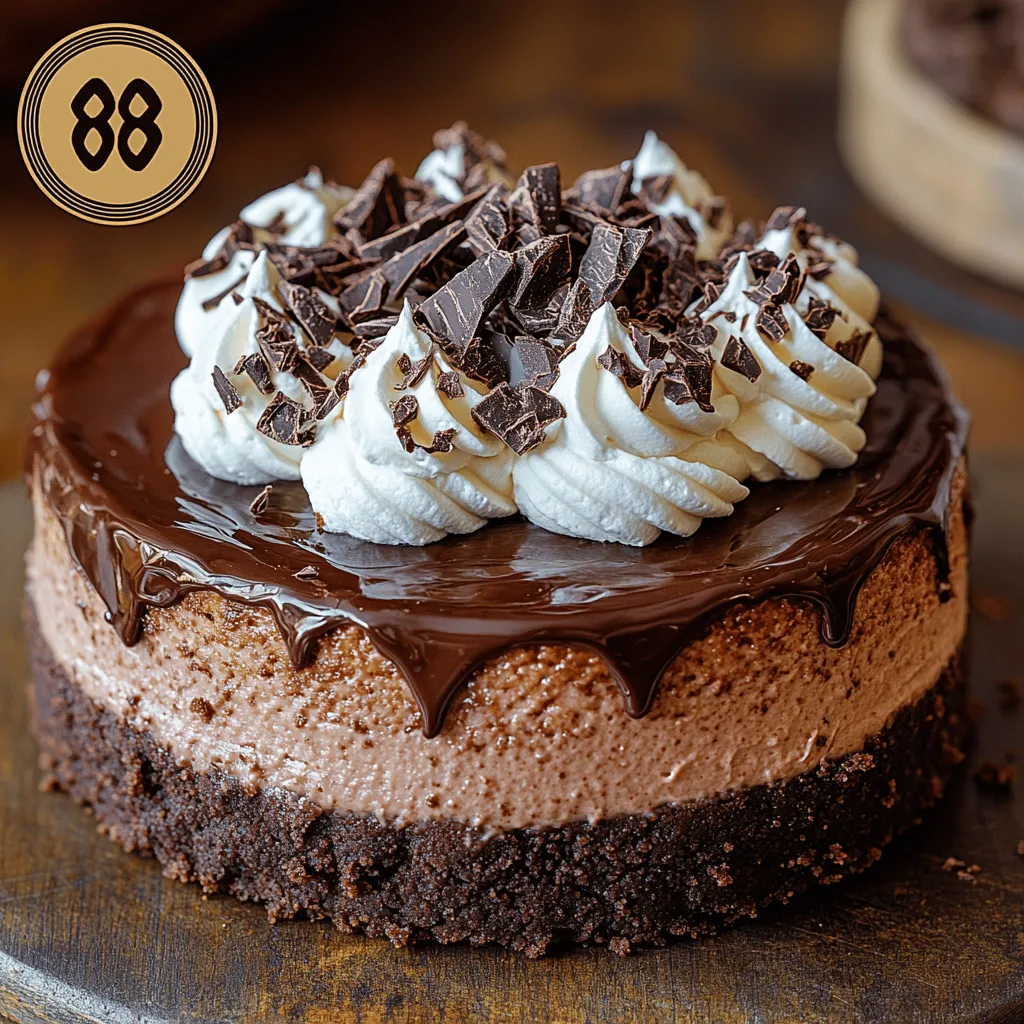
– Chocolate Shavings: Creating elegant chocolate shavings for decoration is easy and adds a touch of sophistication. Use a vegetable peeler or a grater to create delicate curls or shavings.
– Whipped Cream: A dollop of freshly whipped cream on top of each slice adds a fluffy contrast to the rich cheesecake and enhances its presentation.
Step-by-Step Instructions: Crafting Your Cheesecake
Now that we’ve covered the ingredients, let’s dive into the preparation process. Follow these steps to create your own Decadent Godiva Chocolate Cheesecake:
Preparing the Crust
1. Preheat the Oven: Start by preheating your oven to 325°F (163°C). Proper preheating ensures even baking and helps achieve the perfect crust.
2. Combine Crust Ingredients: In a mixing bowl, combine the chocolate cookie crumbs, melted unsalted butter, and sugar. Mix until the crumbs are evenly coated and the mixture resembles wet sand.
3. Press into Pan: Lightly grease a 9-inch springform pan. Press the crumb mixture firmly into the bottom of the pan, ensuring an even layer. Use the back of a measuring cup or your fingers to pack it tightly.
4. Bake the Crust: Place the crust in the preheated oven and bake for 10 minutes. This step helps set the crust, making it crisp and sturdy enough to support the creamy filling.
5. Cool the Crust: Once baked, remove the crust from the oven and allow it to cool while you prepare the filling. This cooling step is crucial, as adding the filling to a hot crust can affect the cheesecake’s texture.
These initial steps are just the beginning of your journey to creating the ultimate Decadent Godiva Chocolate Cheesecake. With the crust prepared, you are ready to move on to crafting the rich and creamy filling that will make this dessert truly unforgettable. Stay tuned for the next part, where we’ll guide you through the filling preparation and the finishing touches that will take your cheesecake to the next level.
Mixing Ingredients: Achieving the Right Consistency
Once you have your ingredients gathered for the crust, it’s time to mix them properly. Start by combining the crushed cookies and melted butter in a large mixing bowl. Use a fork or your hands to mix until the cookie crumbs are fully coated in butter. The mixture should resemble wet sand; if it feels too dry, add a little more melted butter, a tablespoon at a time, until you achieve the desired consistency. Proper mixing is crucial; it ensures that the crust holds together once baked.
Baking: Signs That Your Crust Is Ready
Preheat your oven to 350°F (175°C) while you prepare the crust. Once you’ve mixed the ingredients, press the mixture firmly into the bottom of a 9-inch springform pan. Use the bottom of a measuring cup or your hands to create an even layer. Bake the crust for about 10 minutes, or until it is lightly golden and fragrant. This short baking time helps to set the crust for the cheesecake filling. Once baked, remove it from the oven and let it cool while you prepare the filling.
Making the Cheesecake Filling
Beating Cream Cheese: Tips for Achieving a Smooth Texture
For the cheesecake filling, start with room temperature cream cheese. This is crucial; cold cream cheese can create lumps in your filling. Place the cream cheese in a large mixing bowl and beat it with an electric mixer on medium speed until it’s smooth and creamy, about 2-3 minutes. Scraping down the sides of the bowl will ensure all the cream cheese is incorporated evenly.
Incorporating Ingredients: The Right Order for Mixing
Once the cream cheese is smooth, gradually add in granulated sugar, mixing until well combined. The sugar will help to sweeten the cheesecake while also providing stability to the filling. Next, add in the eggs, one at a time, mixing on low speed until just incorporated. Overmixing at this stage can introduce air into the batter, leading to cracks during baking. Finally, fold in the melted Godiva chocolate and vanilla extract until fully combined, ensuring a rich, chocolatey filling.
Importance of Temperature: How Room Temperature Ingredients Affect the Batter
Using room temperature ingredients is key for achieving a silky smooth cheesecake batter. Cold ingredients can cause the batter to be lumpy and uneven. Ensure that your eggs and any other dairy ingredients are brought to room temperature before starting. This simple step helps in creating a cohesive mixture that bakes evenly.
Baking the Cheesecake
Pouring the Filling: Techniques for an Even Layer
With your filling ready, it’s time to pour it over the cooled crust. Start by gently pouring the cheesecake batter into the center of the crust, allowing it to spread naturally to the edges. You can use a spatula to smooth the top if necessary, ensuring an even layer. This technique minimizes the risk of air bubbles that could cause your cheesecake to crack.
Monitoring Baking Time: Recognizing Doneness Without Cracking
Bake the cheesecake at 325°F (163°C) for approximately 50-60 minutes. The cheesecake is done when the edges are set but the center still has a slight jiggle. It’s important not to overbake, as this can dry out the cheesecake and cause cracks. To check for doneness, you can gently shake the pan; if the center wobbles slightly, it’s ready to be removed from the oven.
Cooling Techniques: Best Practices for Preventing Cracks
After baking, turn off the oven and crack the door open, allowing the cheesecake to cool gradually. This helps to prevent sudden temperature changes that can cause cracks. Let it cool in the oven for about an hour before transferring it to a wire rack to cool completely. Once cooled, refrigerate the cheesecake for at least 4 hours or overnight to allow it to set properly.
Preparing the Ganache Topping
Heating Cream: The Right Method for a Perfect Ganache
To make the decadent ganache topping, start by heating heavy cream in a small saucepan over medium heat. Bring it to a gentle simmer, being careful not to let it boil. Once it’s heated, pour the cream over the Godiva chocolate chips in a heatproof bowl. Allow it to sit for a few minutes to soften the chocolate before stirring.
Mixing Techniques: Ensuring a Smooth Consistency
Using a whisk or spatula, gently stir the mixture until it becomes smooth and glossy. If you notice any lumps, you can place the bowl over a double boiler for a few moments while stirring, allowing the chocolate to melt completely. This ganache will provide a rich, velvety layer on top of your cheesecake.
Adding Butter: The Final Touch for Richness
For an extra layer of richness, add a tablespoon of unsalted butter to the ganache while it’s still warm. Stir until the butter is fully melted and incorporated. This step not only adds to the flavor but also gives the ganache a beautiful sheen.
Assembling the Cake
Removing from the Springform Pan: Ensuring a Clean Release
Once the cheesecake has set, it’s time to remove it from the springform pan. Run a thin knife around the edge of the pan to loosen the cheesecake before carefully unclipping the sides. This ensures a clean release without damaging the edges.
Pouring Ganache: Techniques for a Professional Finish
With the cheesecake removed, place it on a serving platter. Pour the ganache slowly over the center of the cheesecake, allowing it to naturally flow to the edges. Use a spatula to gently spread the ganache if necessary, ensuring an even coating. The ganache should flow smoothly, creating a glossy top that looks professionally made.
Garnishing: Tips for an Eye-Catching Presentation
To elevate your cheesecake, consider garnishing it with chocolate shavings, fresh berries, or a dusting of cocoa powder. These additions not only enhance the visual appeal but also complement the flavors of the cheesecake, making it even more inviting.
Serving Suggestions: Enhancing Your Cheesecake Experience
Pairing with Beverages
When it comes to serving your decadent Godiva chocolate cheesecake, the right beverage pairing can enhance the experience. A rich red wine, such as a Cabernet Sauvignon or a dessert wine like Port, complements the chocolate flavors beautifully. For those who prefer spirits, a smooth bourbon or a coffee liqueur can add a delightful twist. Coffee lovers might enjoy a robust espresso, while tea enthusiasts can opt for a strong black tea like Earl Grey or an herbal tea for a lighter option.
Ideal Occasions for Serving
This cheesecake is perfect for a variety of occasions. Whether you’re celebrating a birthday, hosting a dinner party, or enjoying an intimate gathering with loved ones, it’s a show-stopping dessert that will impress any chocolate lover. Additionally, seasonal gatherings, such as holidays or special events, provide the perfect backdrop for serving this luxurious cheesecake.
Storing Your Cheesecake: Tips for Longevity
Refrigeration Techniques
To keep your cheesecake fresh, store it in the refrigerator. Make sure it is covered with plastic wrap or stored in an airtight container to prevent it from absorbing any odors from the fridge. Proper storage will help maintain the texture and flavor, allowing you to enjoy your cheesecake for several days.
Freezing Your Cheesecake
If you need to store your cheesecake for a longer duration, freezing is a great option. To freeze, wrap the cheesecake tightly in plastic wrap and then place it in a freezer-safe container. It can be frozen for up to 2-3 months. When you’re ready to enjoy it, thaw it in the refrigerator overnight for the best texture and flavor.
Conclusion: A Slice of Luxury Awaits
The Decadent Godiva Chocolate Cheesecake is more than just a dessert; it’s an invitation to indulge in a moment of culinary bliss. With its rich layers of chocolate, creamy filling, and luxurious ganache, this cheesecake is sure to impress anyone fortunate enough to enjoy a slice. By following the detailed instructions and utilizing high-quality ingredients, you can create a dessert that stands as a testament to your baking skills and love for chocolate. Enjoy the rich flavors and delightful textures, and let each bite transport you to a world of indulgence.
